Are Sensory Swings Dangerous? Safety FAQs & Benefits
Are sensory swings dangerous? Your essential FAQs answered
Table of Contents
- How to assemble a sensory swing?
- How to install a sensory swing?
- Are sensory swings safe?
- Hanging safety instructions
- Why sensory swings matter
How to assemble a sensory swing?
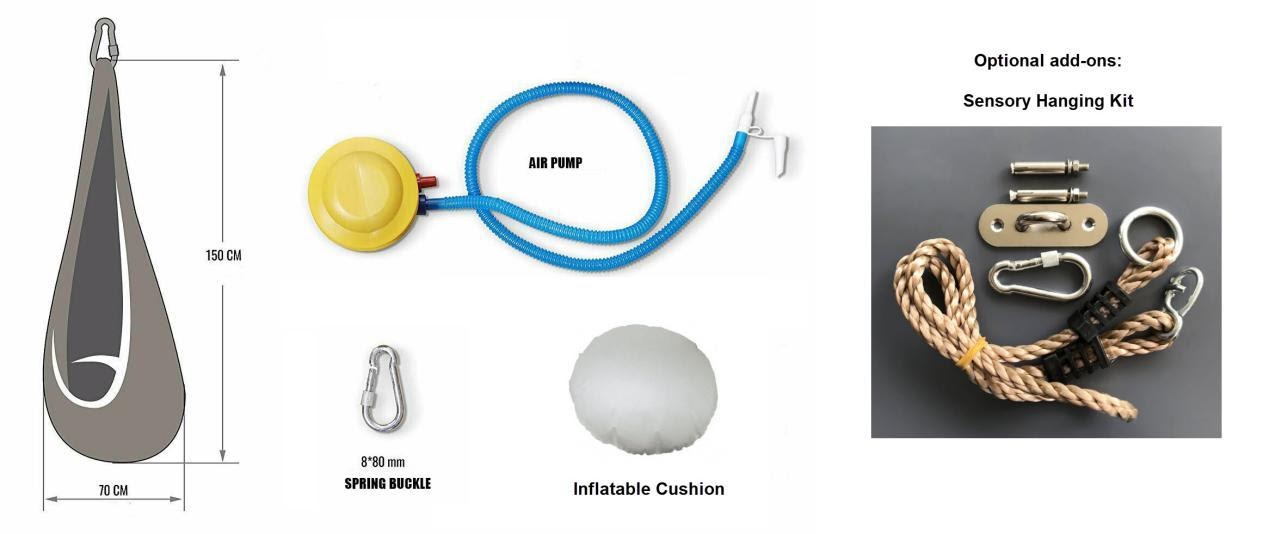
- Make sure all the necessary parts are complete.
- Remove the inflatable cushion from the vacuum-sealed bag.
- Open the pod swing zip and insert the cushion inside.
- Connect the air pump and inflate to a comfortable firmness.
- Close the zip fully to secure the cushion.
- Attach the swing seat and cushion together.
Note: Adjust the cushion firmness to ensure your child is comfortable and supported.
How to install a sensory swing?
There are several ways to safely install a sensory swing indoors:
Connect the hanging screw hook to the ceiling
- Find a ceiling joist – Use a stud finder or knock to locate solid joists.
- Mark drill points – Use the ceiling kit to measure and mark with a pencil.
- Drill the holes – Carefully drill into the joist and clean out the holes.
- Secure the hook – Insert the hook and tighten the bolts.

Tip: If your joist is narrow, two bolts may be enough. Always test for sturdiness before use.
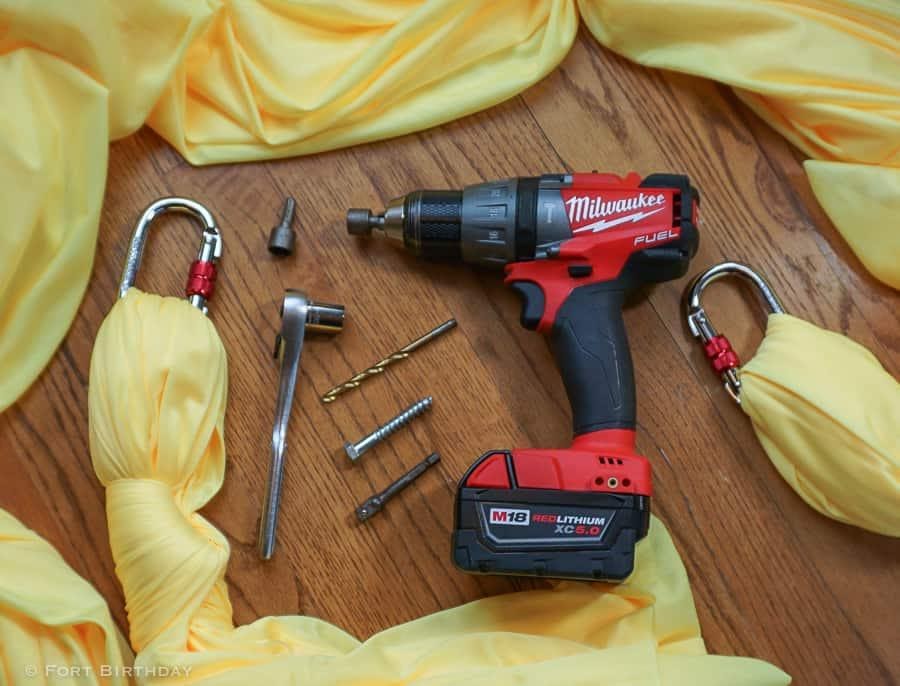
- Drill
- Pencil
- Drill Bit
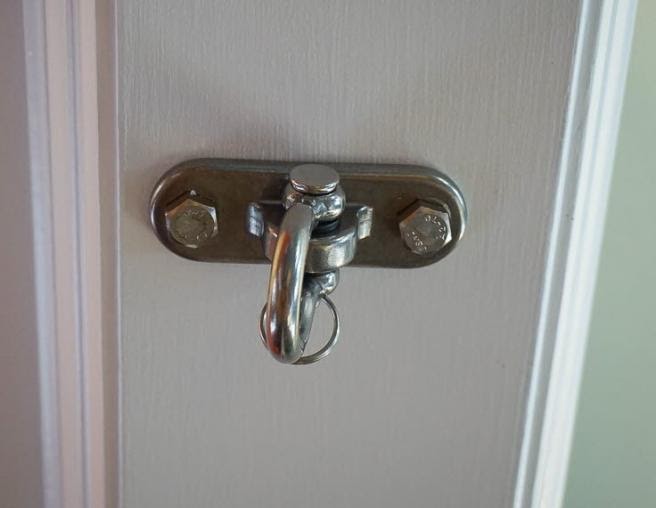
- Use a carabiner to connect the swing to the hook.
- If needed, add a hanging chain or swing stand to adjust height.

Are sensory swings safe?

- Always test weight capacity before use
- Follow proper hanging safety instructions
- Ensure bolts and hooks are tightly secured
- Install over a soft mat for extra protection
- Maintain a low hanging height – no more than 35cm from the ground
- Supervise children during use
Hanging safety instructions

- Keep the area around the swing clear of toys or obstacles
- Encourage gentle swinging only
- Use a soft floor mat underneath
- Dress children appropriately – avoid scarves or loose clothing
- Ensure children sit in the centre with full weight
- Do not allow walking near or under a moving swing
- Avoid attaching objects to the swing
Why sensory swings matter
Sensory swings play a vital role in sensory integration, offering calming deep pressure and motion for individuals with sensory processing needs. They're ideal for sensory pod swing therapy in homes and clinics alike.
At Siesta Hammocks, our sensory swings are designed for durability and comfort. Whether you’re after a sensory swing for adults, a nylon therapy swing, or a complete swing frame kit, we’ve got something for every need.


